
DIY Manicure Tips
Perfectly manicured hands are a must have for every lady but it is not possible for us to rush to a salon everytime to get it done. Save yourself the time and money by following these simple DIY manicure steps.
Step #1
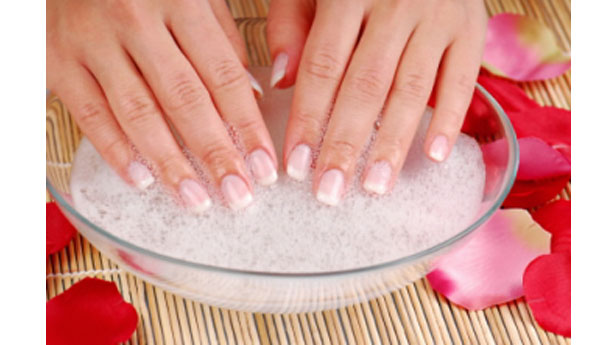 Start your manicure by removing your old nail polish with a cotton ball soaked in remover. Now wash your hands and soak them in warm water for 5 mins. Use a scrub to gently remove the dead cells of your nails.
Now soak your nails in lemon juice for about 5 minutes. This will remove the yellowness from the nails.
Step #2
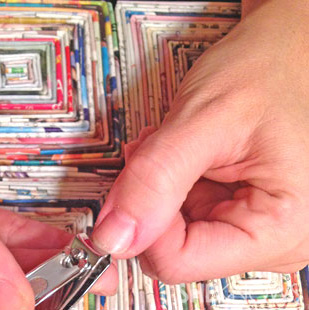 Use a clean pair of nail cutters to trim your nails. Do remember while trimming to keep the nails slightly longer as their length would further reduce after filing.
Step #3
 Now file your nails using a filer in a oval, square or squoval shape. To create the desired shape, filing should be done in an angle with long strokes in one direction.
Buff your nails now. Also apply oil or lotion to nourish them.
Step #4
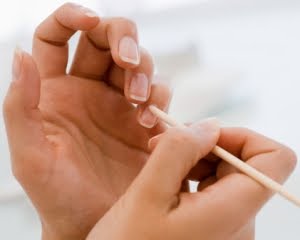 Now gently push the cuticles back without hurting yourself.
Apply a thin layer of clear base coat to ensure that your polish lasts longer.
Step #5
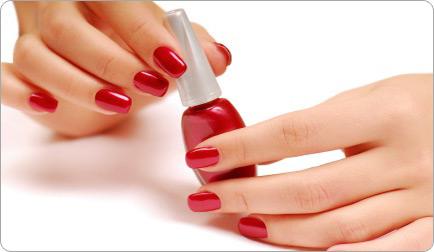 Now apply the nail polish in the color of your choice. You should always apply nail polish using 3 strokes, one from the center base to the tip and one on each side. Allow the first coat to dry off before applying the second one for an even, smooth look.
Now apply a thin layer of top coat to protect your polish.


Just wish to say your article is as astounding. The clarity for your put up is just cool and that i can suppose you are an expert on this subject. Well together with your permission let me to grab your RSS feed to keep up to date with coming near near post. Thanks one million and please continue the gratifying work.